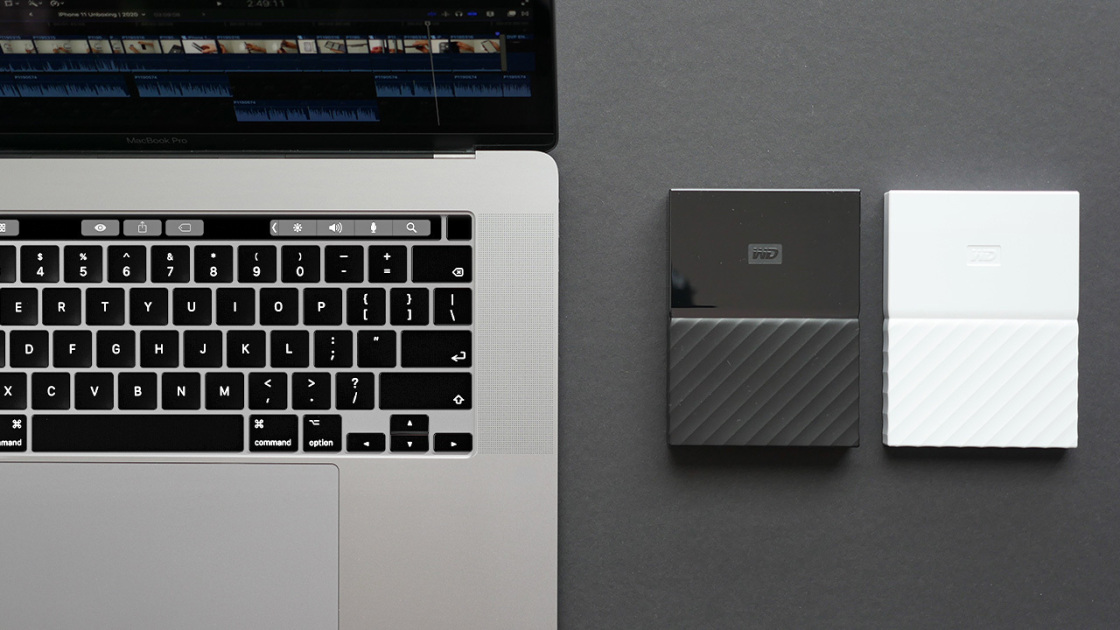
Is your Mac about to crash? Here’s how to create a bootable USB flash drive with a working version of macOS, so you can access your hard drive in the event of a glitch.Your Mac is failing to boot up properly due to some unknown glitch, so there’s no way to access the operating system or even get your data off the hard drive. A bootable USB drive, which contains a copy of the operating system, can save the day. This will allow you to check your drive for errors, restore a recent Time Machine backup, and—if the drive is still physically working—reinstall the operating system to give it a fresh start.
First, you will need a USB flash drive or external hard drive formatted as Mac OS Extended, with at least 14GB of available space. You also need a downloaded installer for macOS Big Sur, or a previous version of macOS if you wish to use that instead. The process supports several past macOS versions, including Catalina, Mojave, High Sierra, and El Capitan.
To create the bootable installer, plug the USB drive into your current Mac. Click the Go menu and select Utilities. Open Disk Utility, select the USB drive, and click the Erase icon. You can name the USB drive if you wish. To simplify the process, choose a short name with no spaces. Change the format to Mac OS Extended (Journaled). Click Erase. After the drive has been erased and reformatted, click Done.
Your next step is to download and install macOS to the USB drive. To do this, click one of the following links on your Mac, depending on which version of macOS you want to use:
macOS Big Sur
macOS Catalina
macOS Mojave
macOS High Sierra
OS X El Capitan
Click the button to View in Mac App Store, then click the Get button. At the App Store, click Get and then click the Download button.
If the installer window opens after downloading the OS, close it by clicking the Install macOS menu and selecting Quit install macOS. Make sure the USB drive is still connected to your Mac. Return to the Utilities folder on your Mac and open the Terminal app.
At the Terminal prompt, type one of the following commands, depending on your version of macOS. Replace the string My Volume with the volume name of your USB drive.
macOS Big Sur: sudo /Applications/Install macOS Big Sur.app/Contents/Resources/createinstallmedia –volume /Volumes/MyVolume
macOS Catalina: sudo /Applications/Install macOS Catalina.app/Contents/Resources/createinstallmedia –volume /Volumes/MyVolume
macOS Mojave: sudo /Applications/Install macOS Mojave.app/Contents/Resources/createinstallmedia –volume /Volumes/MyVolume
macOS High Sierra: sudo /Applications/Install macOS High Sierra.app/Contents/Resources/createinstallmedia –volume /Volumes/MyVolume
OS X El Capitan: sudo /Applications/Install OS X El Capitan.app/Contents/Resources/createinstallmedia –volume /Volumes/MyVolume –applicationpath /Applications/Install OS X El Capitan.app
Press Return after you type the command. You’ll be prompted to enter a password. This is not the password for the account that you use to log in. Rather, it’s the password for the root user on your Mac. If you don’t know the password for the root user, follow this Apple support page to learn how to change this password.
Type the password and then press Return. Note that Terminal won’t display any characters as you type the password. Terminal tells you that it needs to erase the volume. Type Y to confirm and then press Return.
Terminal tells you that the disk is being erased and displays the progress. The program then indicates that the necessary files are being copied to the disk. Be patient at this point as the copy process takes a very long time. As the process wraps up, Terminal tells you that it’s making the disc bootable.
Finally, it indicates that the volume for your USB drive now has the same name as the installer you used, such as Install macOS Big Sur. You can now close Terminal and eject the USB drive.
Now, let’s say at some future date that your Mac is misbehaving and has trouble booting up. Insert the USB drive and power up the machine. Hold the Option key as you do so, then release the Option key when a dark screen appears displaying your bootable volumes. Select the volume for your bootable USB drive, then click the up arrow or press Return. Your Mac will then reboot.
An error message may appear showing that the security settings do not allow it to use an external startup disk. If you bump into this message, follow the prompts to restart, then hold down Command+R to open macOS Recovery. Click the Utilities menu and choose Startup Security Utility. Enter the password you use to sign into this Mac. In the Allowed Boot Media section, change the option to Allow booting from external or removable media.
Click the Apple menu and select Restart, then hold down the Option key while your Mac reboots. Select the volume for your bootable USB drive, then click the up arrow or press Return. After your system restarts, you’re placed at the macOS Recovery screen. Here, you have a few options.
To check your unbootable hard drive, open Disk Utility. Click your hard drive volume and select First Aid. This will check your drive for errors and repair any that it finds. Click the Run button to trigger the scan and repair. Click done when the process finishes and return to the macOS Recovery screen.
If you have an internet connection and want to run an online search related to your problem, click the Safari icon to access the web. When done, go back to the macOS Recovery screen.
You can then restore a recent backup from Time Machine. If your system is still malfunctioning and you have no recent backup, you can reinstall macOS from your USB drive.
source

